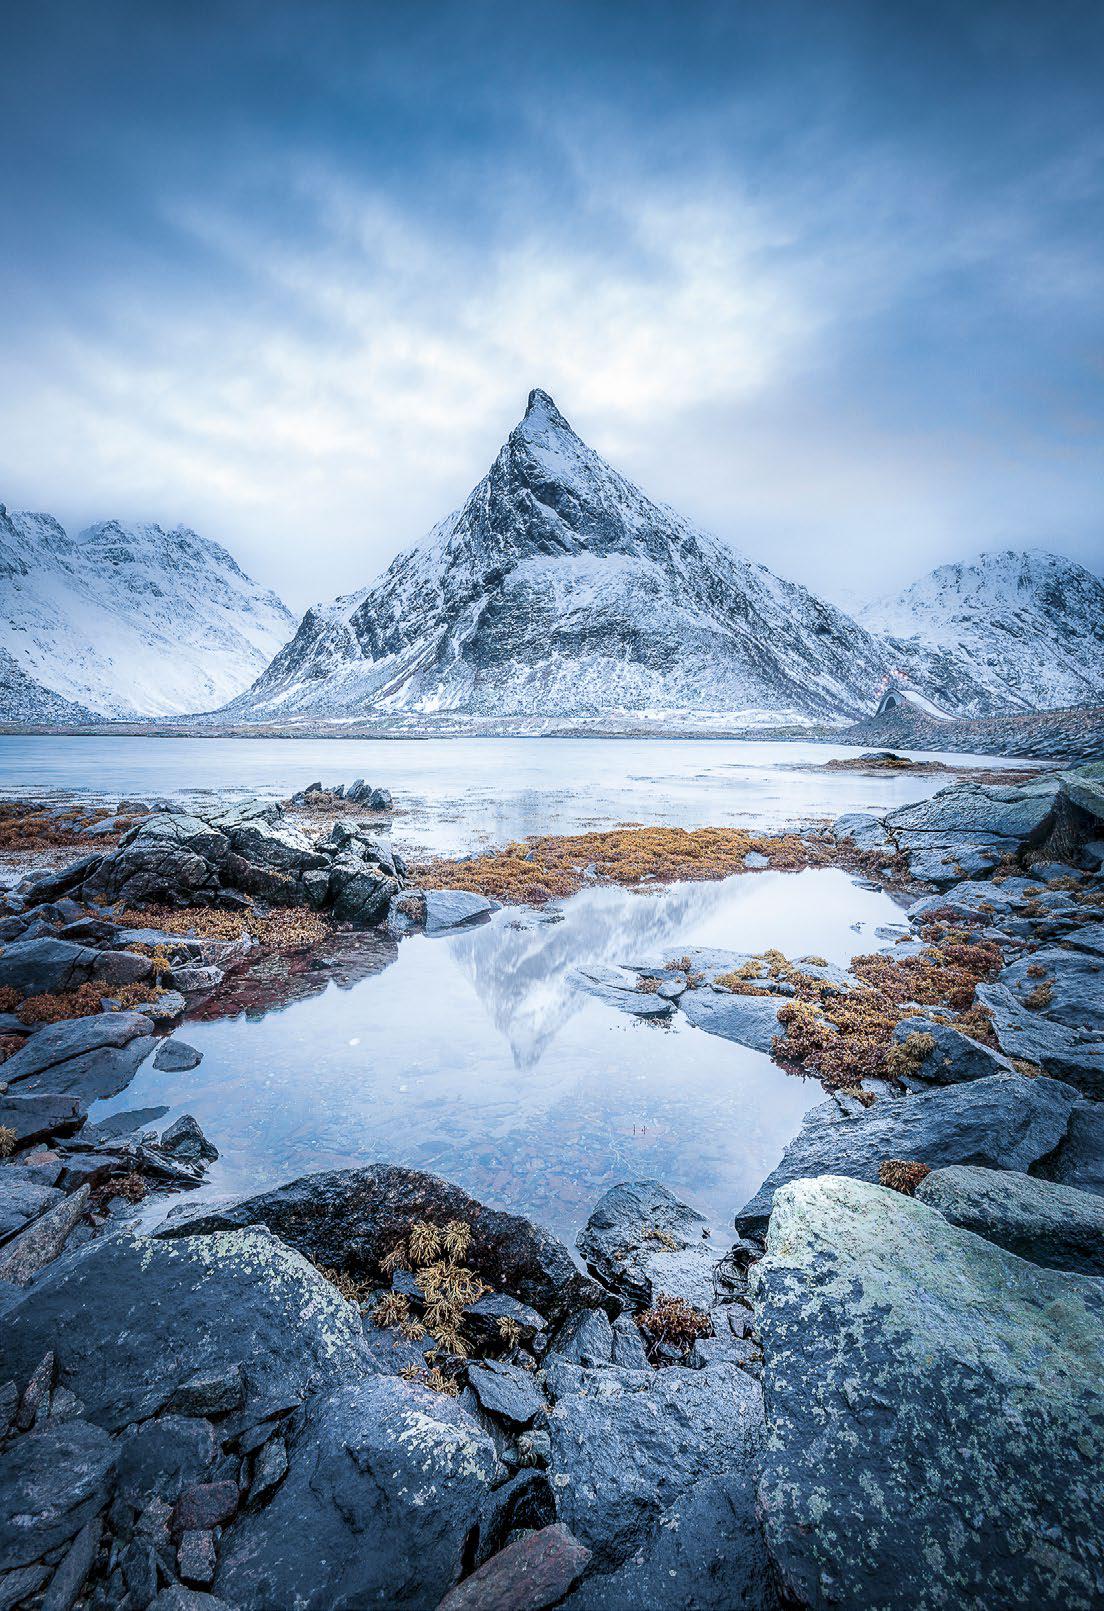
There’s more to white balance than getting the whites balanced; it’s about every colour in the image. There are two ways to do this: you can set the white balance in the camera, or shoot in raw and set it afterwards with the same results. The best practice is to set it in-camera, but sometimes this isn’t practical. By shooting in raw, you can leave your white balance to Auto WB, safe in the knowledge that you can tweak it afterwards if necessary.
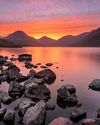
Photoshop’s Camera Raw and Lightroom offer near-identical white balance tools, either in the Basic panel in Camera Raw or the Develop module in Lightroom. The tools are very simple, but there are some essential tricks to learn that can help you get the most out of them. What’s more, one of the great things about white balance tools is how you can use them selectively in different areas of the photo. With a landscape like the one pictured above, it means we can pull out a touch of warmth in the sky while also correcting the overall cool cast to the scene.
Max the saturation
Sometimes it can be tricky to determine the right white balance settings, especially if there isn’t an obvious neutral area to sample with the eyedropper tool. A handy trick if you’re struggling is to temporarily slide the Saturation and Vibrance sliders all the way to 100%.
This story is from the January 2023 edition of Digital Camera UK.
Start your 7-day Magzter GOLD free trial to access thousands of curated premium stories, and 9,000+ magazines and newspapers.
Already a subscriber ? Sign In
This story is from the January 2023 edition of Digital Camera UK.
Start your 7-day Magzter GOLD free trial to access thousands of curated premium stories, and 9,000+ magazines and newspapers.
Already a subscriber? Sign In

David duChemin
The Canadian wildlife photographer gives Niall Hampton a flavour of his latest book Light, Space & Time, and his talk at The Photography Show

Scanning ahead...
In a make-or-break year for the camera market, Jon Devo suggests throwing out the playbook
Click, click, gone
Sean McCormack tries ON1 Photo RAW's new Generative Erase

Blur the background
Wendy Evans explains how to change the depth of field in telephoto shots using the Lens Blur tool in Lightroom or Camera Raw
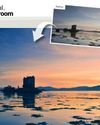
Bring the drama with colour-grading tools
Discover how to use adjustment layers in Affinity Photo to add mood and colour to a lacklustre image, with Wendy Evans
Optimise your phone shots in Photoshop
Smartphones are our most useful cameras, so let's enhance our shots, says James Abbott

Expand your images
Crop outside your frame in Photoshop and discover a clever hack for detailed Al-generated fills with James Paterson

Shot of the month
Benjamin Yavar, winner of the Photography category of 2024's ViewSonic ColorPro Awards

CAMERA CLINIC - Master the art of modern photography
Architecture is a huge subject in photography.
HARNESS THE POWER OF RAW!
Take your captures to the next level with this 10-step tutorial for Adobe Lightroom Classic CC. Dan Mold is your expert guide...